Raw Orange & Chocolate Cake

I have been eating and making raw vegan desserts for about 5 years. After making many recipes and experimenting with my own creation, I have to say that I now have more successes than failures. Yeah!

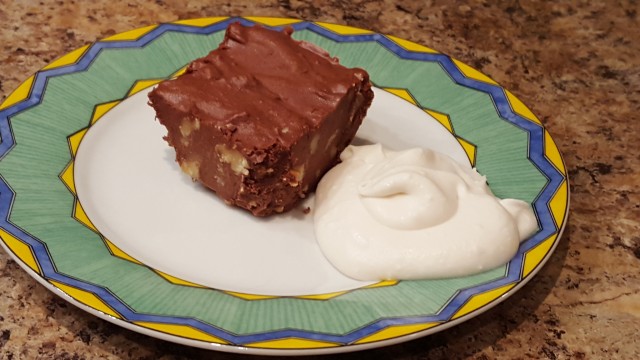
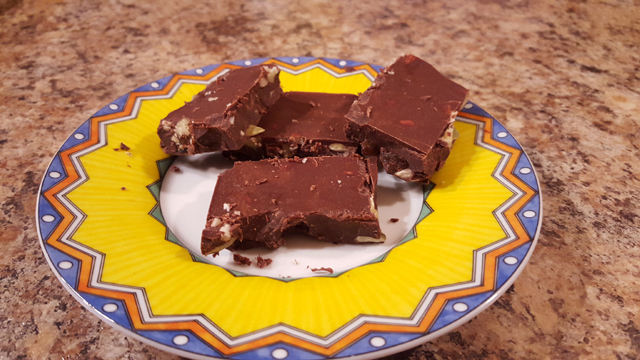
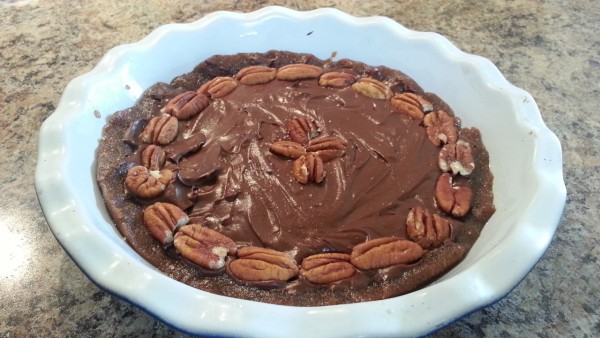
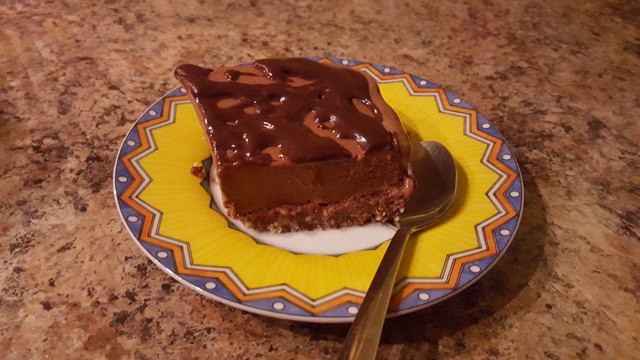
One of my successes was last night. I invited my neighbor for dinner and I know that she loves Orange-Chocolate treats. Therefore in her honor, I created this amazing and light dessert.

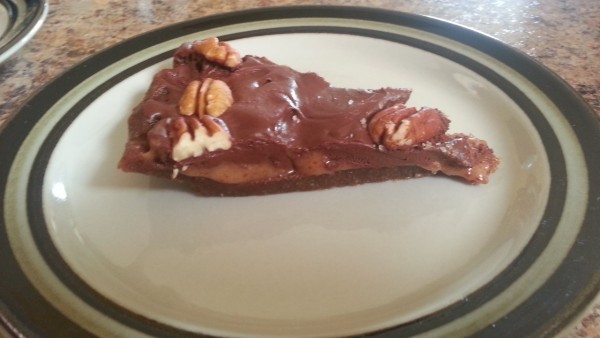
I say light because instead of using nuts for the filling I used frozen bananas. It worked out really nicely and no added sugar necessary. Try this one out during the holiday and you will amaze your friends.

Crust
1 cup of almonds
16 Medjool dates
2 tbs cacao powder
Zest of an orange

Filling
¼ cup coconut oil melted
¼ cup cacao powder
½ cup orange juice
3-4 large frozen bananas

Topping
¼ cup cocoa powder
¼ cup maple syrup
2 tbs coconut oil melted

Crust directions:
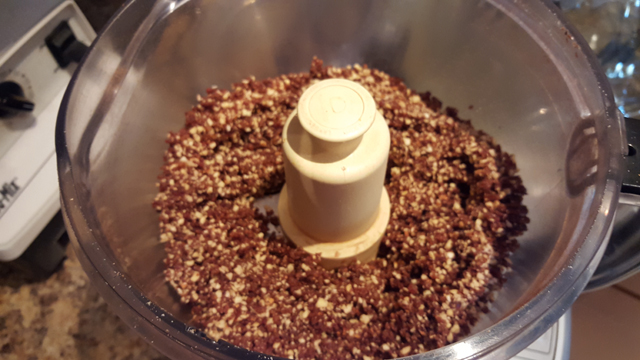
1. Place the almonds and Medjool dates in a food processor and mix well until the mixture sticks together.
2. Mix in the cacao powder.
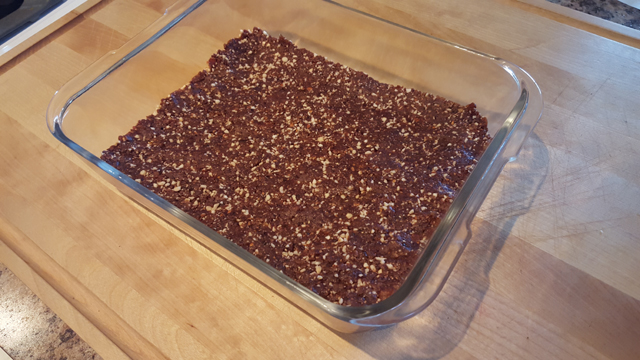
3. Press the crust in the bottom of a 9 in x 9 in or equivalent glass pan.
4. Sprinkle the orange zest onto the lightly press crust.

photo 1

photo 2

Filling directions:
1. Place the bananas in a Vitamix mixer (if you don’t have a Vitamix, let the bananas melt to soften them) and mix them until they are all crumbled.
2. Pour in the orange juice, coconut oil, and mix until you get a uniform mixture.
3. Mix in the cacao powder
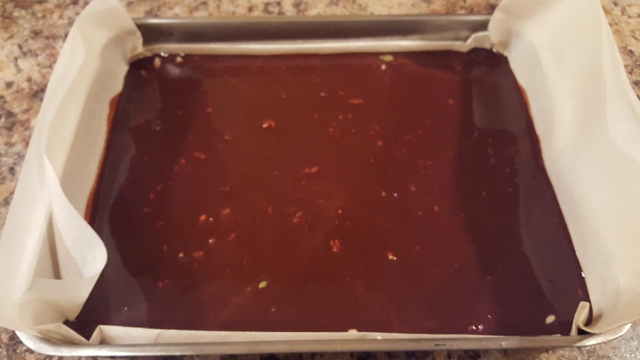
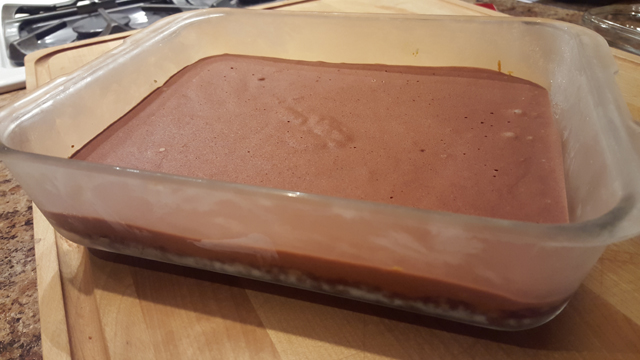
4. Pour the banana mixture on top of the crust and place in the freezer.
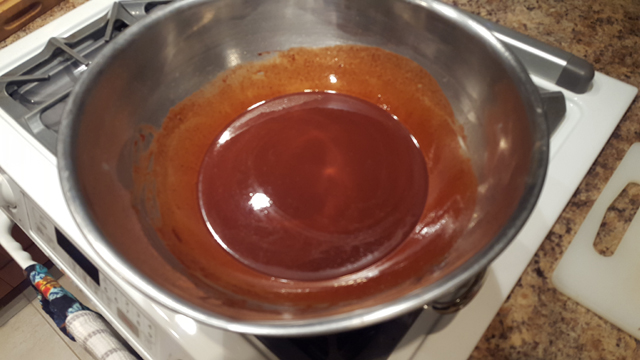
photo 3

Topping directions:
1. Mix the coconut oil, maple syrup and cacao powder until uniformly mixed.
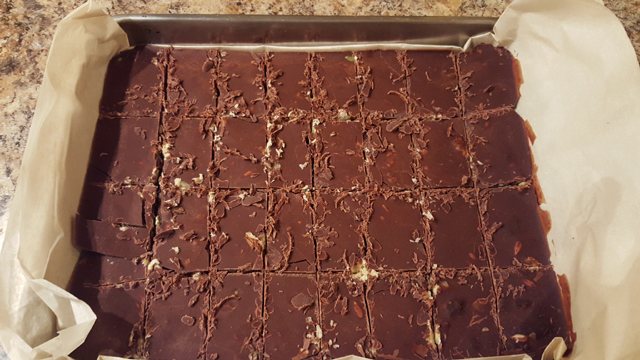
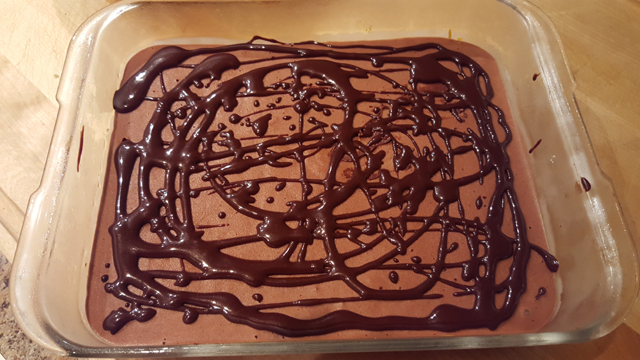
2. Once the filling is frozen, drip the chocolate mixture on top of it my making criss-cross or zig-zag patterns
3. Put back in the freezer.

photo 4

Pull out of the freezer 15 minutes before serving.

Would you like more recipes like this one?
Click Here to Subscribe

Raw Chocolate – Walnut Fudge

This fudge is ridiculously easy to make and delicious (addictive really, I had to stop making it because I couldn’t help myself).  It has a melt-in-your-mouth texture thanks to the coconut oil and can be eaten directly out of the fridge or freezer (which means that even keeping it in the freezer didn’t slow me down!). Enjoy these amazing little bites of creamy chocolate.

Ingredients:

  • 2 cups extra virgin coconut oil (not melted)
  • 1 cup raw or natural unsweetened Cacao Powder
  • 1/3 cup Grade B Maple Syrup (you could also substitute Honey)
  • 1½ cups Walnuts (Raw or Roasted), roughly chopped
  1. Whip coconut oil in the bowl of a standing mixer until fluffy (2-3 minutes).
  2. Add cocoa powder and maple syrup and continue to whip until completely combined (about 1 minute, but you might need to scrape the sides a couple of times).
  3. Add chopped walnuts and mix just to combine.
  4. Spread into a 9”x9” baking pan.  Chill in the refrigerator until set (at least 1 hour).
  5. Cut into squares and enjoy (store in the fridge or freezer).

Serve here with Coconut whipped cream.

NOTE: Because the coconut hardens in the refrigerator, it can be a little tricky to cut nice squares when it hard (it becomes quite brittle), it will help to pre-cut the squares in the pan before they are completely set (say after about 20 minutes in the fridge).

Enjoy

Would you like more recipes like this one?
Click Here to Subscribe

Chocolate Bark

Once you eat this chocolate bark you will not be able to buy a chocolate bar from the store anymore. This is so easy to make and you can’t really go wrong. You taste it as you go and you can make it exactly the way you want.

Basic ingredients:
½ cup cacao butter
½ cup cacao powder
Maple syrup to taste
Salt to taste

Optional ingredients: (one or a combination of)
Dry raisins
Dry cranberries
Pumpkin seeds
Sunflower seeds
Hemp seeds
Crushed nuts (almonds or walnuts or pecan)
Chili pepper (for a nice spicy chocolate)

Directions:
1. Place the cacao butter in a double boiler.
2. Once the cacao butter starts to melt, reduce the heat or even turn it off. You don’t want it to become hot, just melted. If it stops melting, raise the heat a little.
3. With the help of a sifter, slowly sprinkle the cacao powder on the melted cacao butter.
4. Mix the cacao butter and cacao powder together as you are sifting.
5. Add the maple syrup to the chocolate liquid and keep mixing.
6. Add salt.
7. Taste and adjust to the darkness, sweetness or salt amount to your liking.
2015-10-29 19.32.04
8. Place a parchment paper with the side raised in the bottom pan or Pyrex.
9. Uniformly sprinkle the dry fruits, nuts, and seeds in the bottom of the pan.
2015-10-29 19.31.58
10. Pour the melted chocolate mixture into the seeds and nuts.
2015-10-29 19.35.10
11. Place it in the refrigerator or freezer for 20 minutes or so. You can also sprinkle coarse salt, hemp seeds or sesame seeds on top for garnish.
12. Before it gets completely hard, you can cut into the preferred pieces sizes and place back in the refrigerator.
2015-10-29 20.31.12

Or once ready you can just break it by hand into pieces and enjoy.

The nice thing about using cacao butter is that your chocolate will not soften or melt when outside refrigerator, unlike coconut butter that melts with the temperature of your fingers and is very soft at room temperature.

Have fun and be creative.

Would you like more recipes like this one?
Click Here to Subscribe

Raw Salted Caramel Chocolate Pecan Torte

This Dessert is always a winner. I have not met anyone so far who did not enjoy this dessert. It is amazing. You make it in about 20 minutes and put it in the freezer and serve it when ready. It could keep in the freezer for a long time, but that does not happen in my home. I have a hard time to resist sneaking into the freezer and grabbing a bite, then another…

All you will need for this amazing dessert is a food processor and a blender. It contains only 6 ingredients in total (and that is including salt).

Ingredient: 
The crust:
6 oz (about 1 1/2 cups) pecans
6 oz (about 1 1/2 cups) dates

The caramel:
6 tablespoons of maple syrup or liquid sweetener of your choice
3 oz (about 3/4 cup) dates
1/2 teaspoon of coarse salt (useless if you are watching your salt intake)

The filling:
1/2 cup cacao powder
1/4 cup of melted coconut oil
1/2 cup of maple syrup or liquid sweetener of your choice

Direction:
1. To make the crust, pulse the dates and pecans in a food processor until it forms a dough ball. If after a while the dough hasn’t come together, add a little bit of water slowly until it does. It might require only a few drops.
2. Grease a 9-inch pan lightly with coconut oil. Press the dough into the pan and spread it out evenly into a pie crust shape, raising it at the side. Make sure there are no holes in the bottom.
3. Make the caramel by blending together the maple syrup and dates in a food processor until smooth and golden in color. Once it’s blended into a sauce, add in the sea salt and mix gently.
4. Pour the caramel in a thin layer on top of the bottom of the crust, spreading it out evenly.
5. To make the filling, mix together the maple syrup and melted coconut oil in the blender at slow speed. Then slowly add the cacao with the use a stiffer to make the mixture really smooth, as the liquid is turning at low speed until it’s uniformly mixed. Once all the chocolate is in, you can stop the blender and wiped the side and blend it a little more.
6. Carefully cover the caramel layer with the chocolate layer with a soft spatula.
7. Garnish the top with pecans and sea salt if desired.
8. Refrigerate your torte until the filling sets. Remove it from the refrigerator about 10-15 minutes before cutting and serving. Personally, I liked this when it was still slightly chilled but you can also eat it at room temperature.

20120722_170403

I guarantee you that you will make a lot of friends with this dessert.

Would you like more recipes like this one?
Click Here to Subscribe